
Dental Equipment No Power: Why It Happens and How to Fix It
Dental Equipment No Power Common Causes and What to Check First
When a clinic calls and says a chair is dead, the sterilizer screen is black, or the X ray control does not light up, the worst thing you can do is start guessing and ordering parts. A careful diagnosis starts at the wall and works inward.
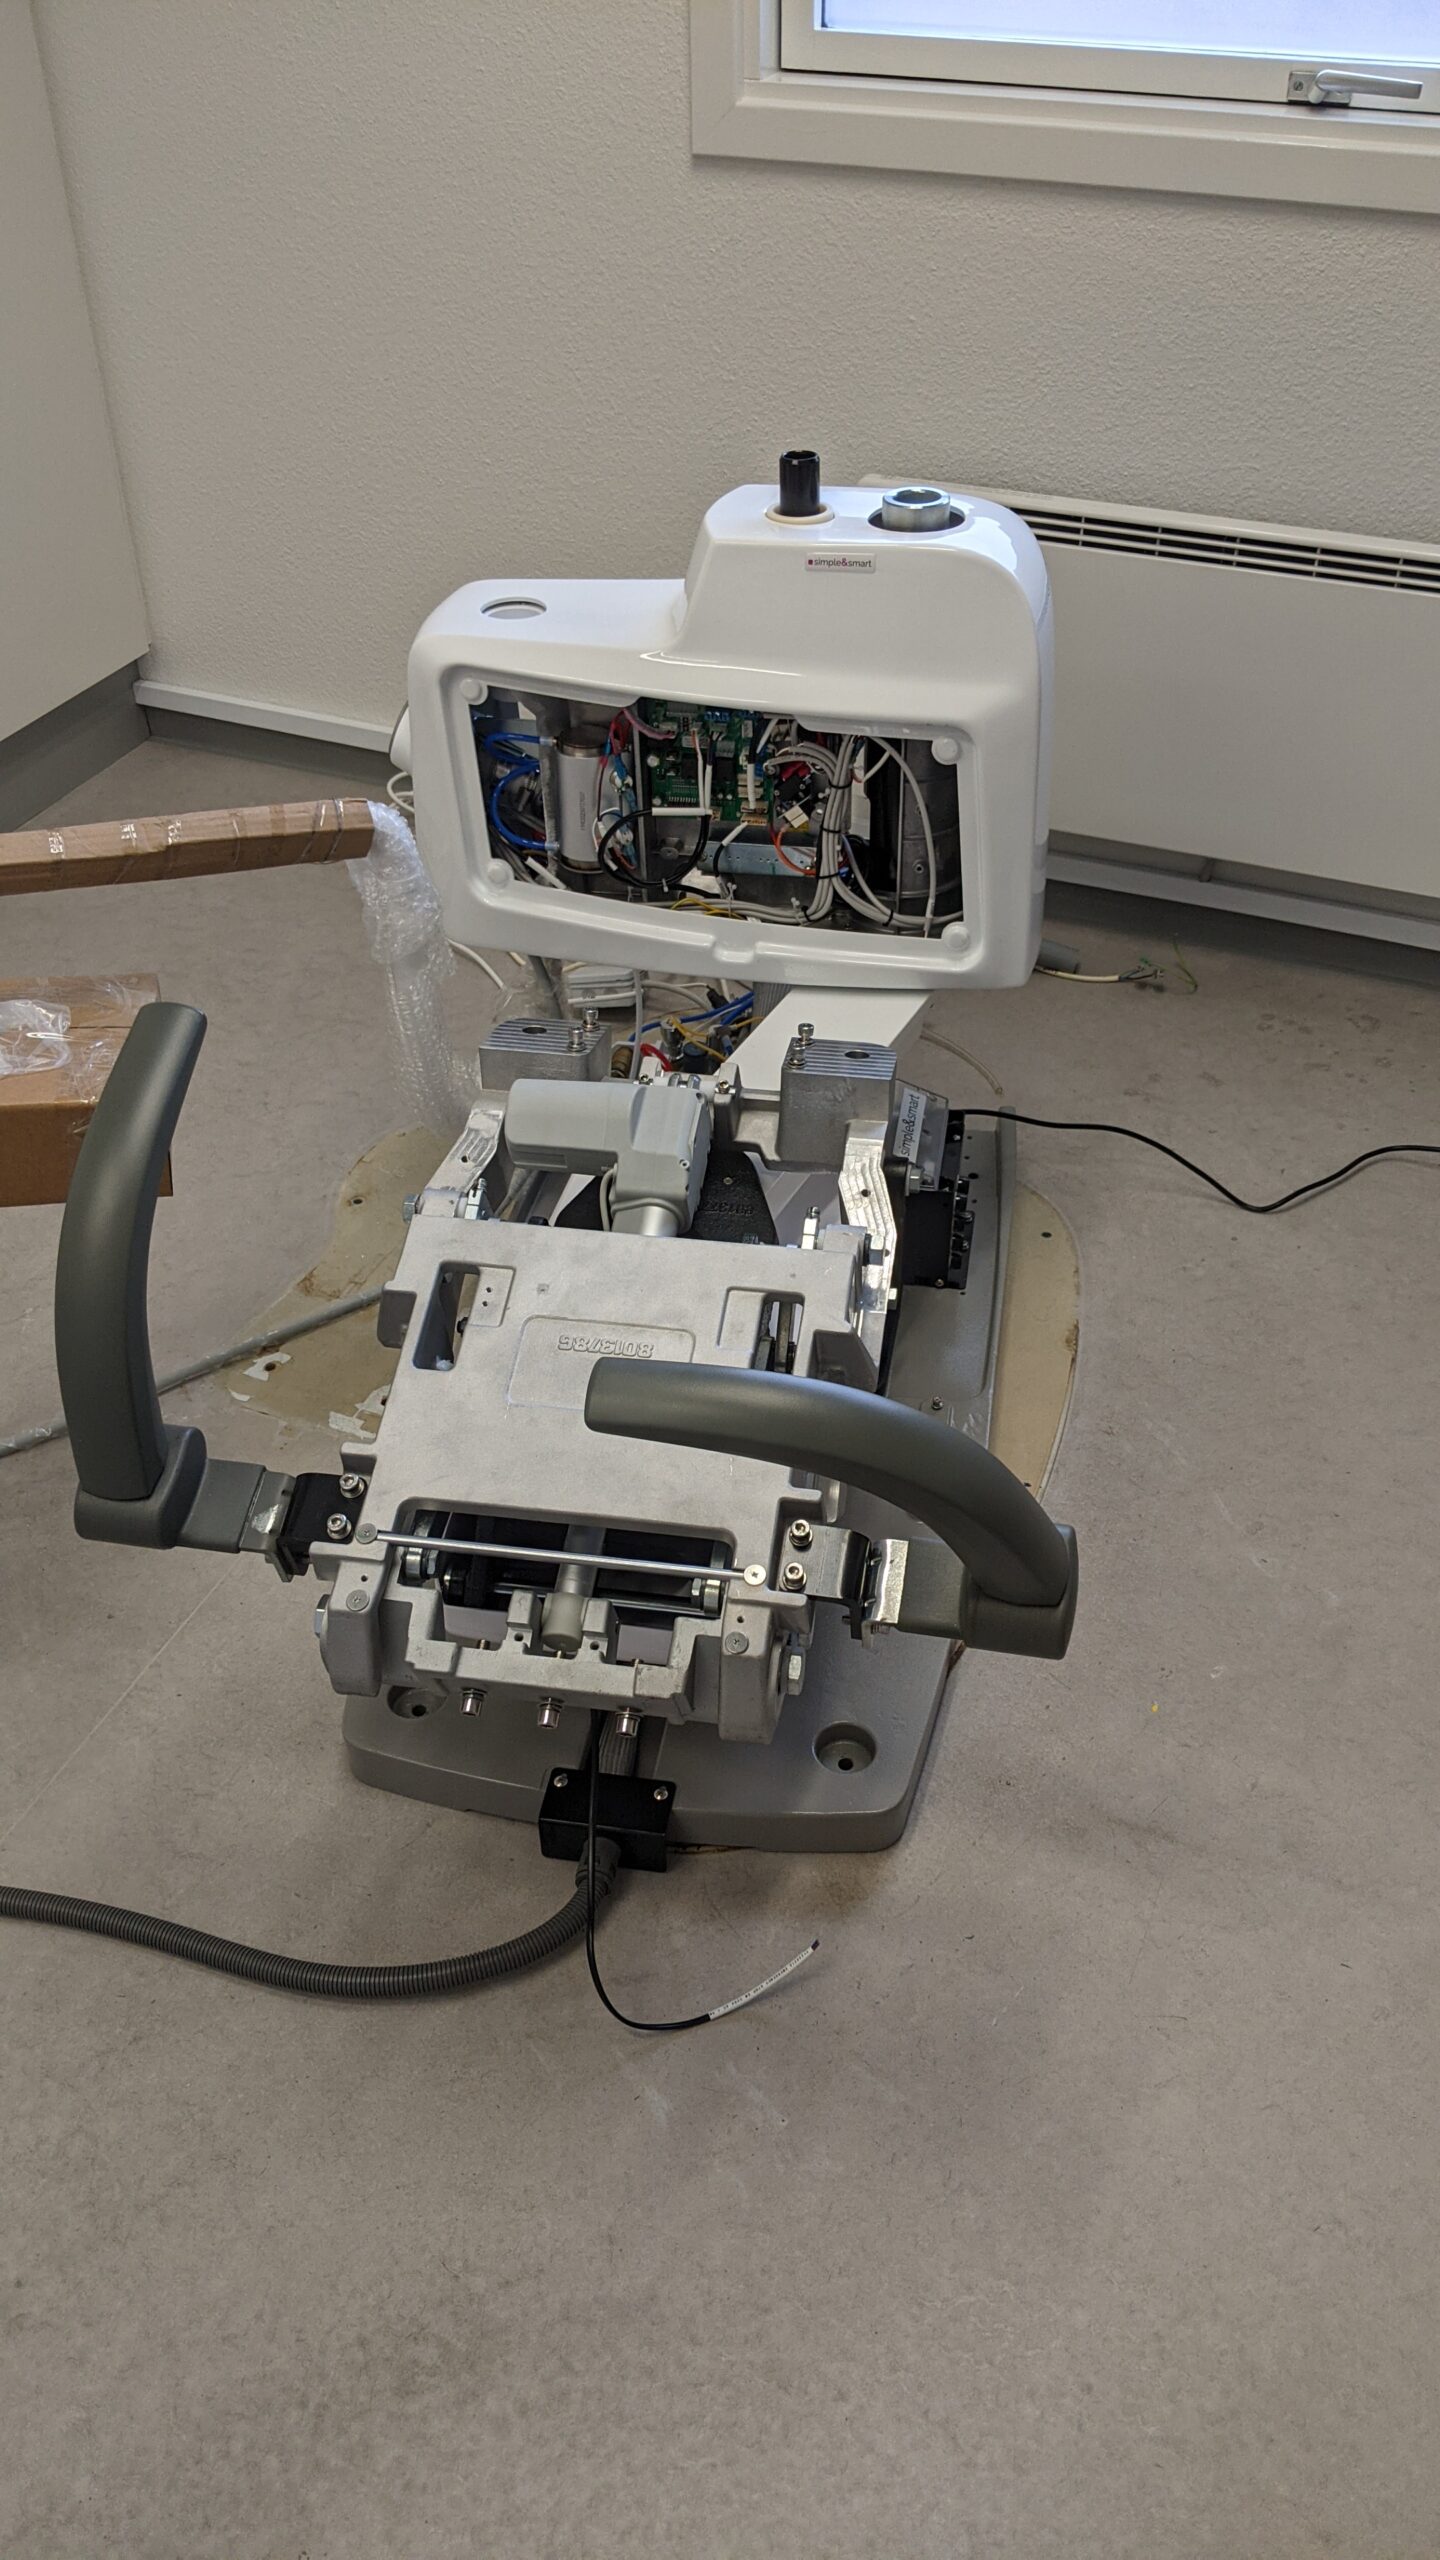
In the field, Dental Equipment No Power problems usually come down to a short chain of causes. Either power is not getting into the unit, something in the safety chain is holding the system off, or the low voltage side that wakes up the controls is not coming online.
Why technicians start at the wall and work inward
When a clinic calls and says a chair is dead, the sterilizer screen is black, or the X ray control does not light up, the worst thing you can do is start guessing and ordering parts. In the field, Dental Equipment No Power problems usually come down to a short chain of causes.
Either power is not getting into the unit, something in the safety chain is holding the system off , or low voltage side that wakes up the controls is not coming online. That is the reason experienced technicians start at the wall and work inward, not the other way around.
At BioDen, this is exactly how we approach a service call in Vancouver. If a clinic tells us the dental equipment will not turn on, we do not jump straight to a bad board.
We first verify incoming power, then the main switch, then the breaker or fuse path, then any emergency stop or safety interlock, then the power supply or transformer side, and only then the control board.
That sequence saves time, avoids unnecessary parts swapping, and usually gets you to the real failure faster. Clinics that are dealing with wider or unidentified equipment fault can also review BioDen’s dental equipment repair service in Vancouver for information about professional diagnosis and on site support.
The no power diagnostic chain
A technician style diagnosis should not sound like guesswork. It should follow a repeatable order: verify incoming power, find the first interruption in the electrical chain, and only then move toward transformers, power supplies, control heads, or main boards.
Incoming power
Confirm that the wall outlet, dedicated circuit, power cord, and visible connections are supplying power.
Main switch
Verify that the equipment switch is on and that no secondary or low visibility switch has been overlooked.
Breaker or fuse
A tripped breaker or failed primary fuse can leave otherwise functional equipment completely dead.
Safety conditions
Door switches, stop plates, limit switches, and safety circuits may prevent startup or movement.
Power supply
If line power is present but controls remain dark, the low voltage supply may not be coming online.
Control board
Boards do fail, but they should normally be suspected only after the upstream power path is proven.
The first question is simple: is there incoming power at all?
If the operatory outlet is dead, the machine is not the problem. In real clinics, this step catches more issues than people like to admit, especially after electrical work, cleaning, moving equipment, or a breaker trip during a busy day.
A power outlet can look completely normal while no longer delivering voltage. A plug may also appear connected while sitting partially out of the receptacle or power inlet. Before looking for a failed board, confirm that the equipment is receiving the power it was designed to use.
The second check is the main switch
It sounds basic, but it matters. Some units have a main rocker switch in a low visibility location. Some X ray system have an illuminated on and off switch and a separate control side. Some chairs have base power conditions that are easy to overlook when everyone assumes the touchpad would still wake up.
If your dental equipment not turning on problem started after closing, cleaning, moving, or another contractor working in the room, this is one of the first places to look.
The third step is the fuse or circuit breaker path
This is where many completely dead equipment calls get solved. A correctly connected machine can still remain dark if a primary fuse has failed or if a circuit breaker has opened.
The fuse is not there simply to be replaced whenever the equipment stops working. It is a protective component. When a fuse opens, a technician should also consider why it failed instead of assuming that replacing it is the entire repair.
Fuse ratings can change between equipment models, voltages, and manufacturing generations. The replacement must match the exact specification for the exact unit, not whatever fuse happens to be available in a drawer.
The fourth step is the emergency stop or safety interlock side
This is the step that separates real troubleshooting from random guessing. Many pieces of dental equipment use safety devices that can interrupt motion, disable a cycle, or prevent startup when the equipment does not detect a safe condition.
On dental chairs, safety stop features can stop or prevent movement. On sterilizers, the door switch can prevent a cycle from beginning when the door is open, partially latched, or incorrectly detected. A partially engaged safety device can sometimes look like a complete electrical failure to someone who is only checking the control panel.
The fifth step is the power supply or transformer side
If good power is arriving, the switch is on, the breaker and fuse path are intact, and the safety chain is satisfied, but the display is still dead, the low voltage side becomes the next suspect.
In plain shop language, this is the point where the machine may be receiving line power, but the component responsible for creating the control voltage is not waking the system up.
After that comes the control board
This is the part everyone wants to blame first, but it should usually be blamed last. Control boards definitely fail, but the smart move is to prove the power chain up to the board before replacing one.
Replacing a main board without confirming the incoming supply, fuse path, connectors, safety circuit, and low voltage supply can result in an expensive part being installed without correcting the original fault.
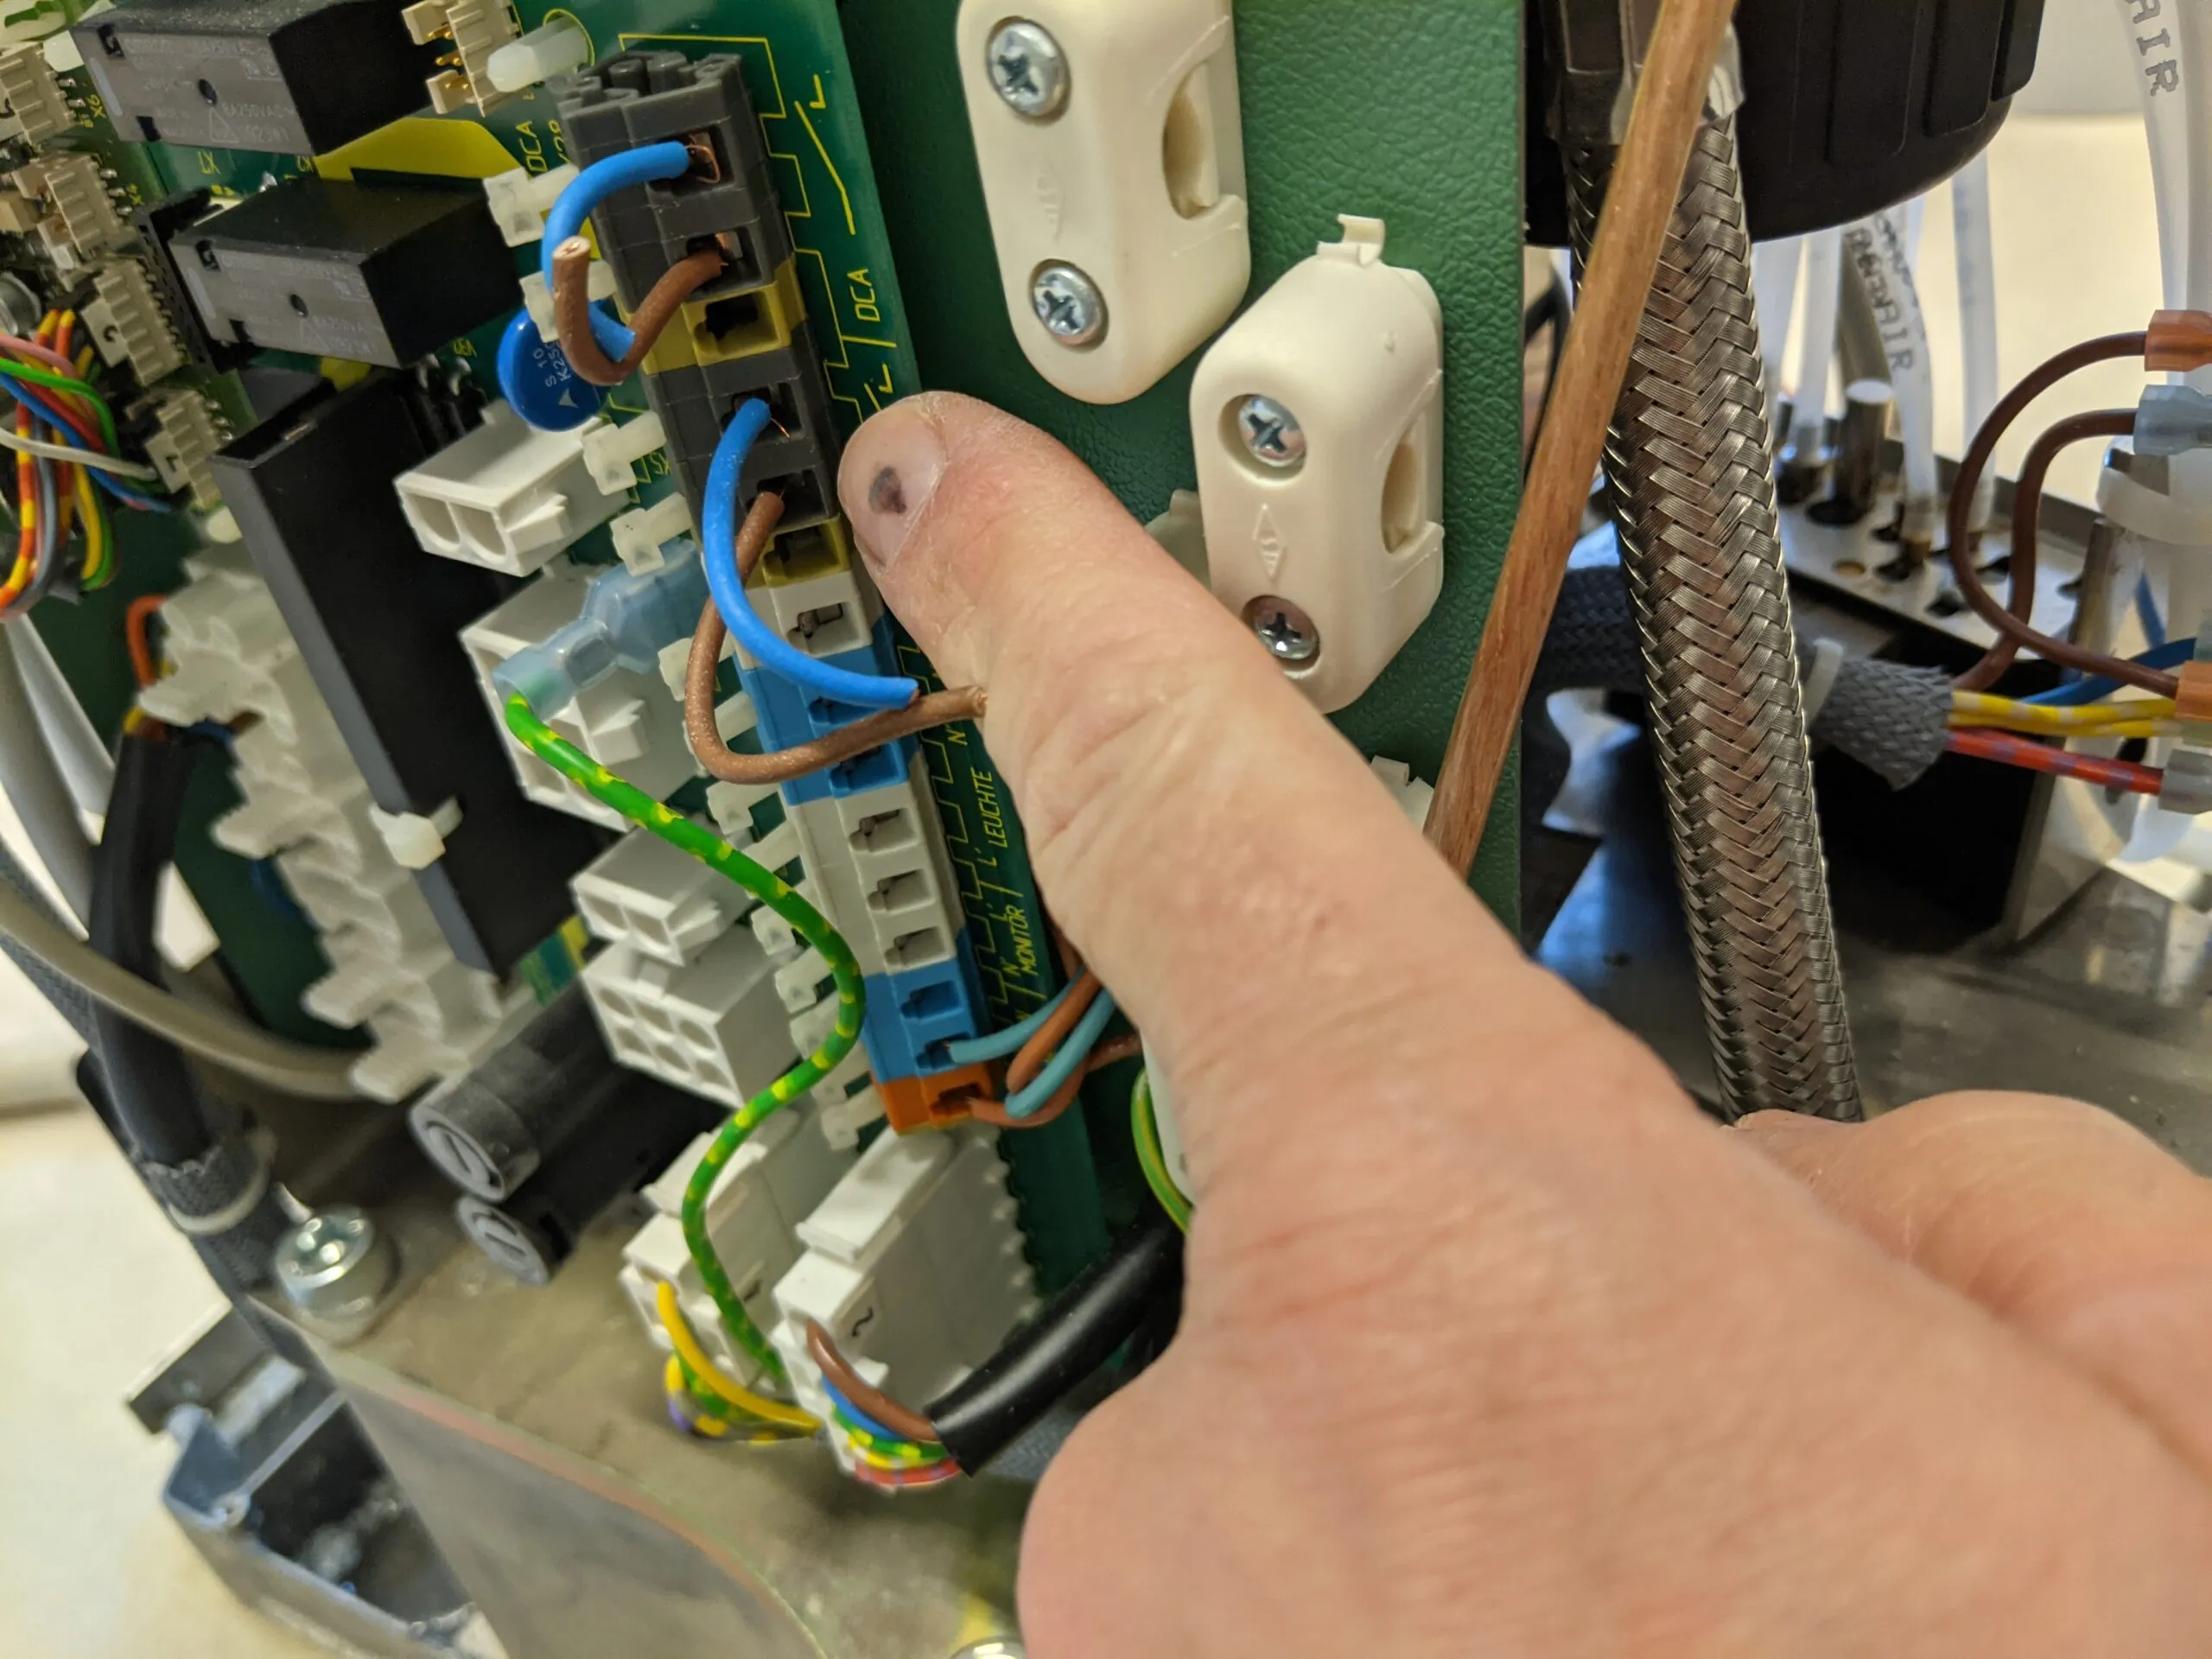
Dental chair no power
If you are dealing with dental chair no power, start by looking at the base power situation and any safety stop conditions.
If the chair is completely unresponsive, the cause may be upstream power, a breaker, a fuse, a stop condition, the foot control or touchpad side, or the chair board itself.
If the chair has power to some functions but not motion, that changes the direction of the diagnosis. A chair that has an operating light or delivery system but will not move is not presenting the same failure as a chair with no lights, no sound, and no control response.
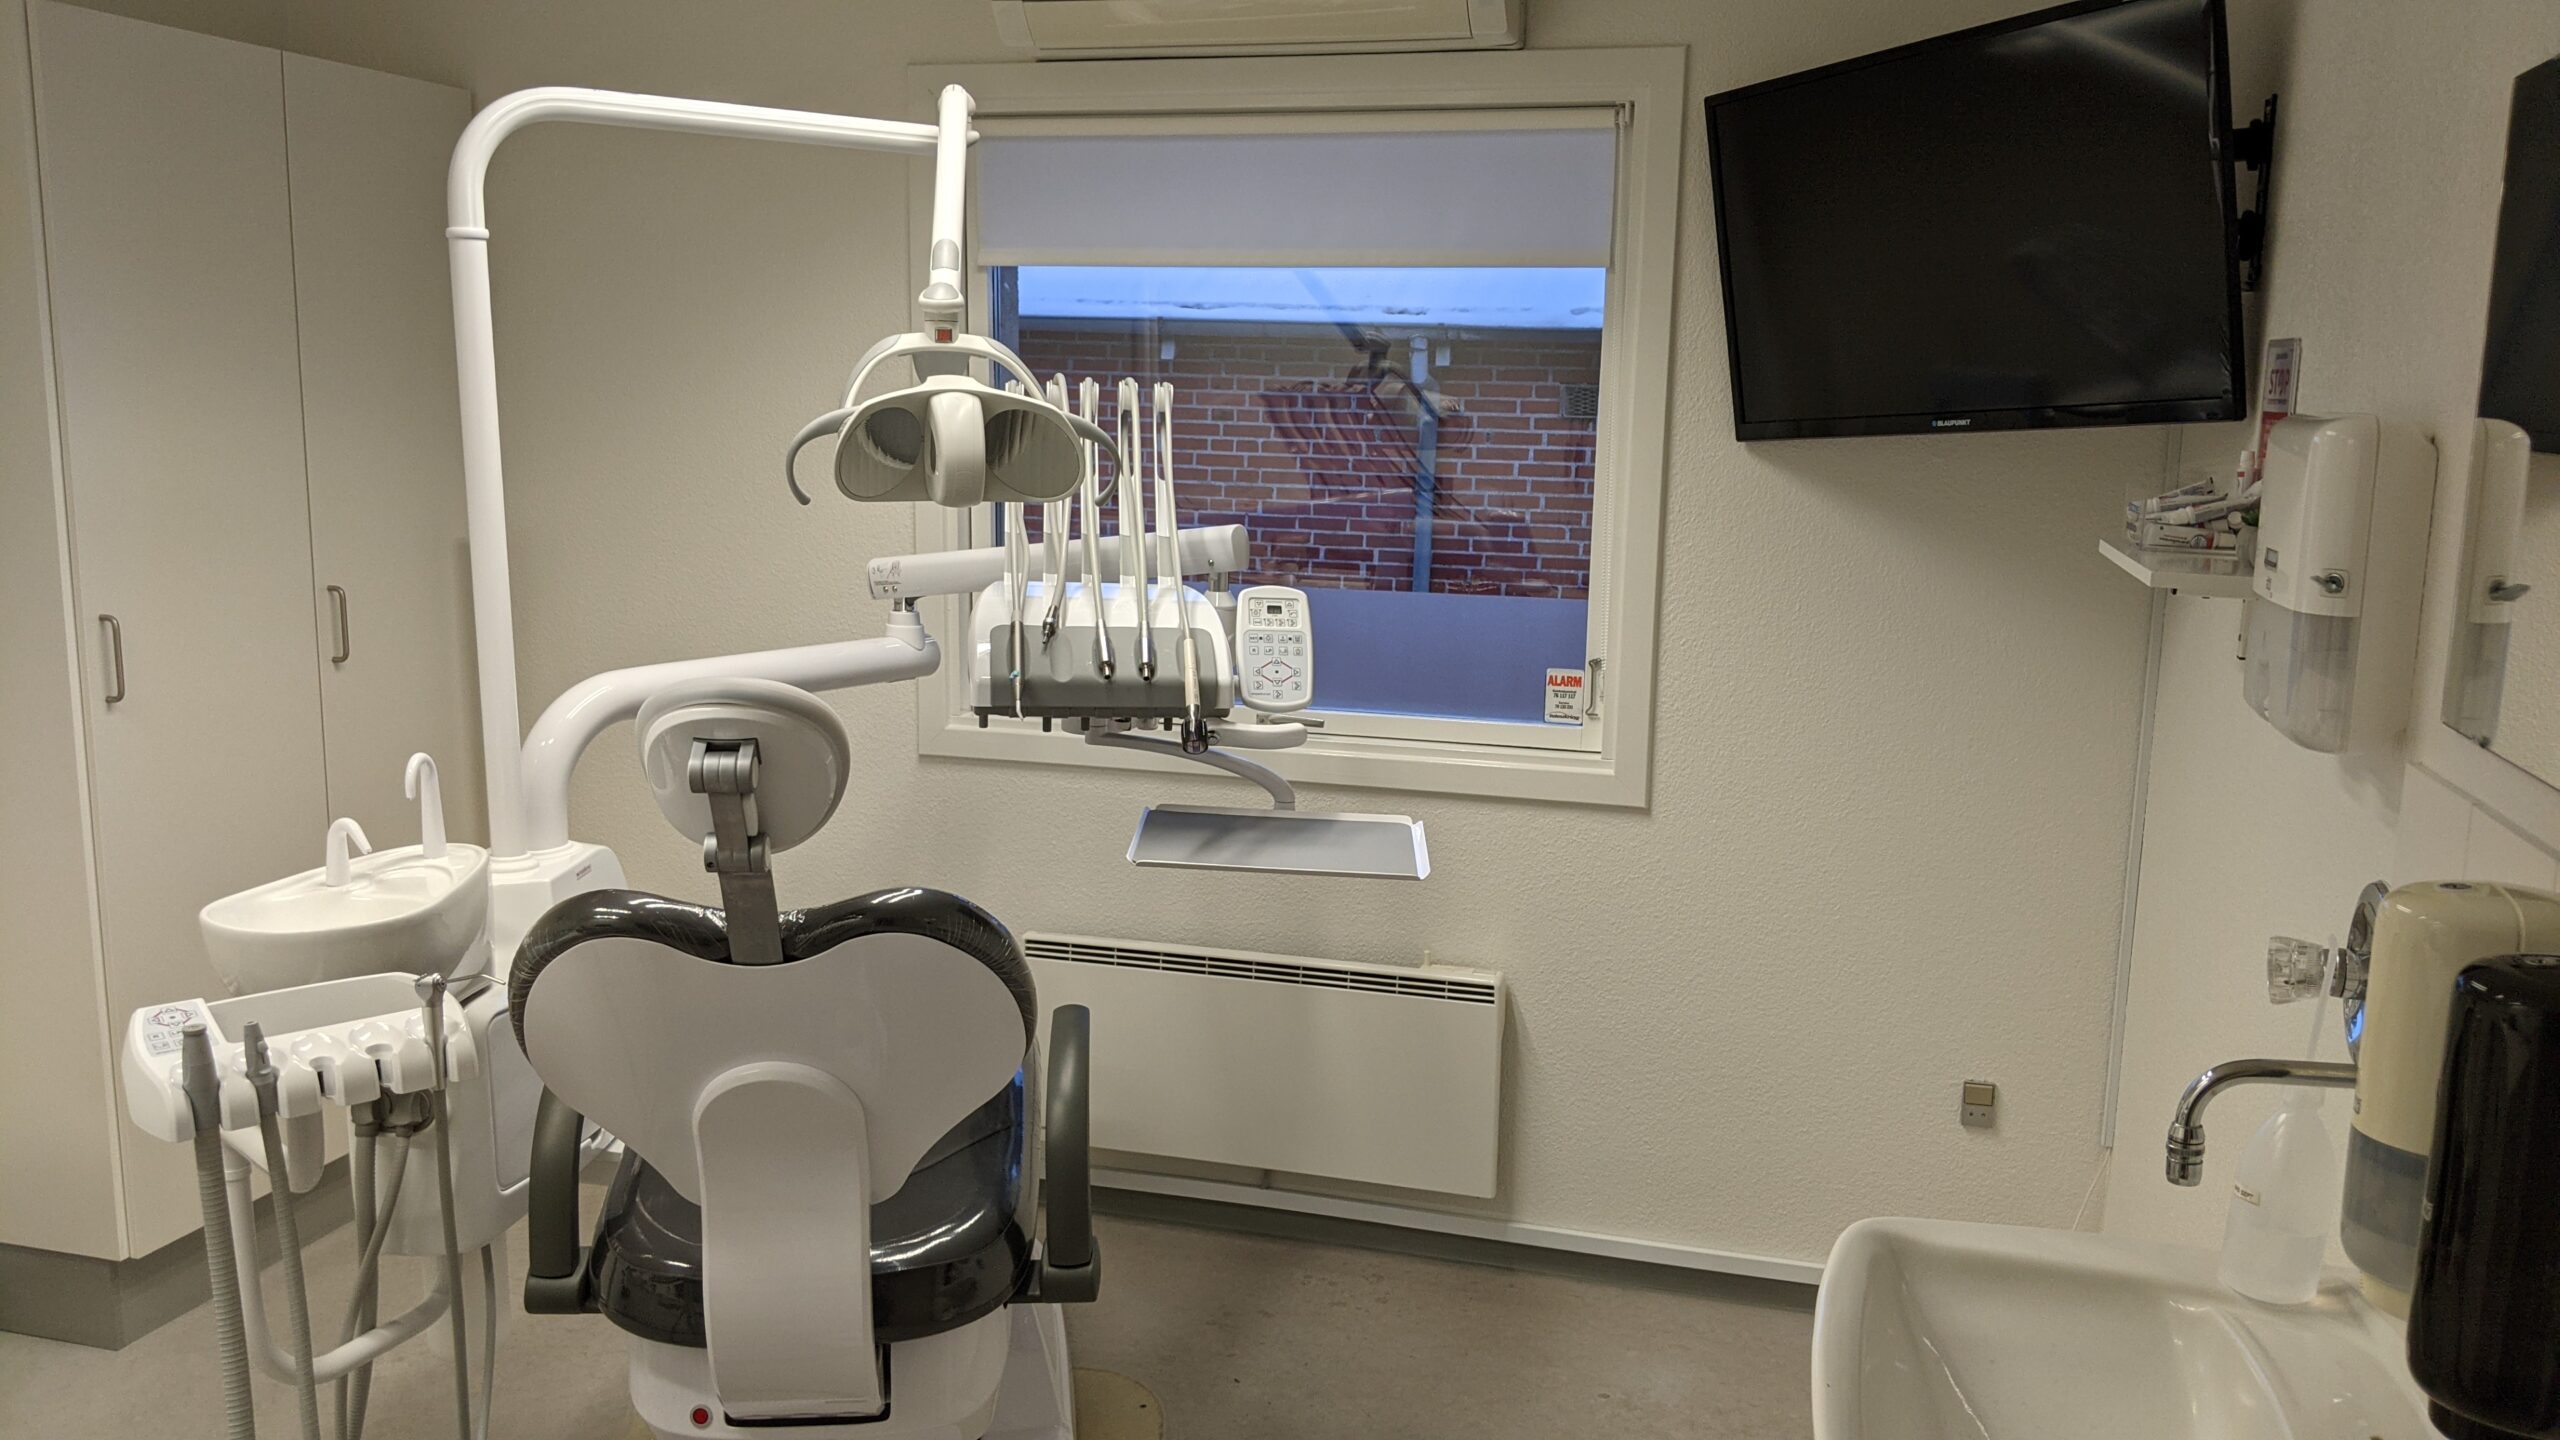
What a technician normally checks
- Power at the wall outlet and chair input
- Main chair switch and circuit breaker condition
- Visible wiring or disconnected power connections
- Chair stop plate and other safety stop conditions
- Foot control, touchpad, and communication path
- Transformer, power supply, and chair control board
A fully dead chair usually means the diagnosis should begin with the electrical power chain, not the hydraulic system. Hydraulic faults can stop or weaken chair movement, but they do not normally explain why every indicator, control, and electrical function is completely dark.
If your clinic has confirmed the external power conditions but the chair remains unresponsive, BioDen provides dental chair repair in Vancouver for electrical, control, hydraulic, and movement related faults.
Autoclave no power
If the problem is autoclave no power, the first thing to check is whether the unit lost its incoming supply or primary fuse path.
A dead sterilizer may be as simple as a supply loss or as serious as an overheating event, internal short, damaged power supply, or control board failure. This is why sterilizers should not be treated casually. They are mission critical infection control equipment.
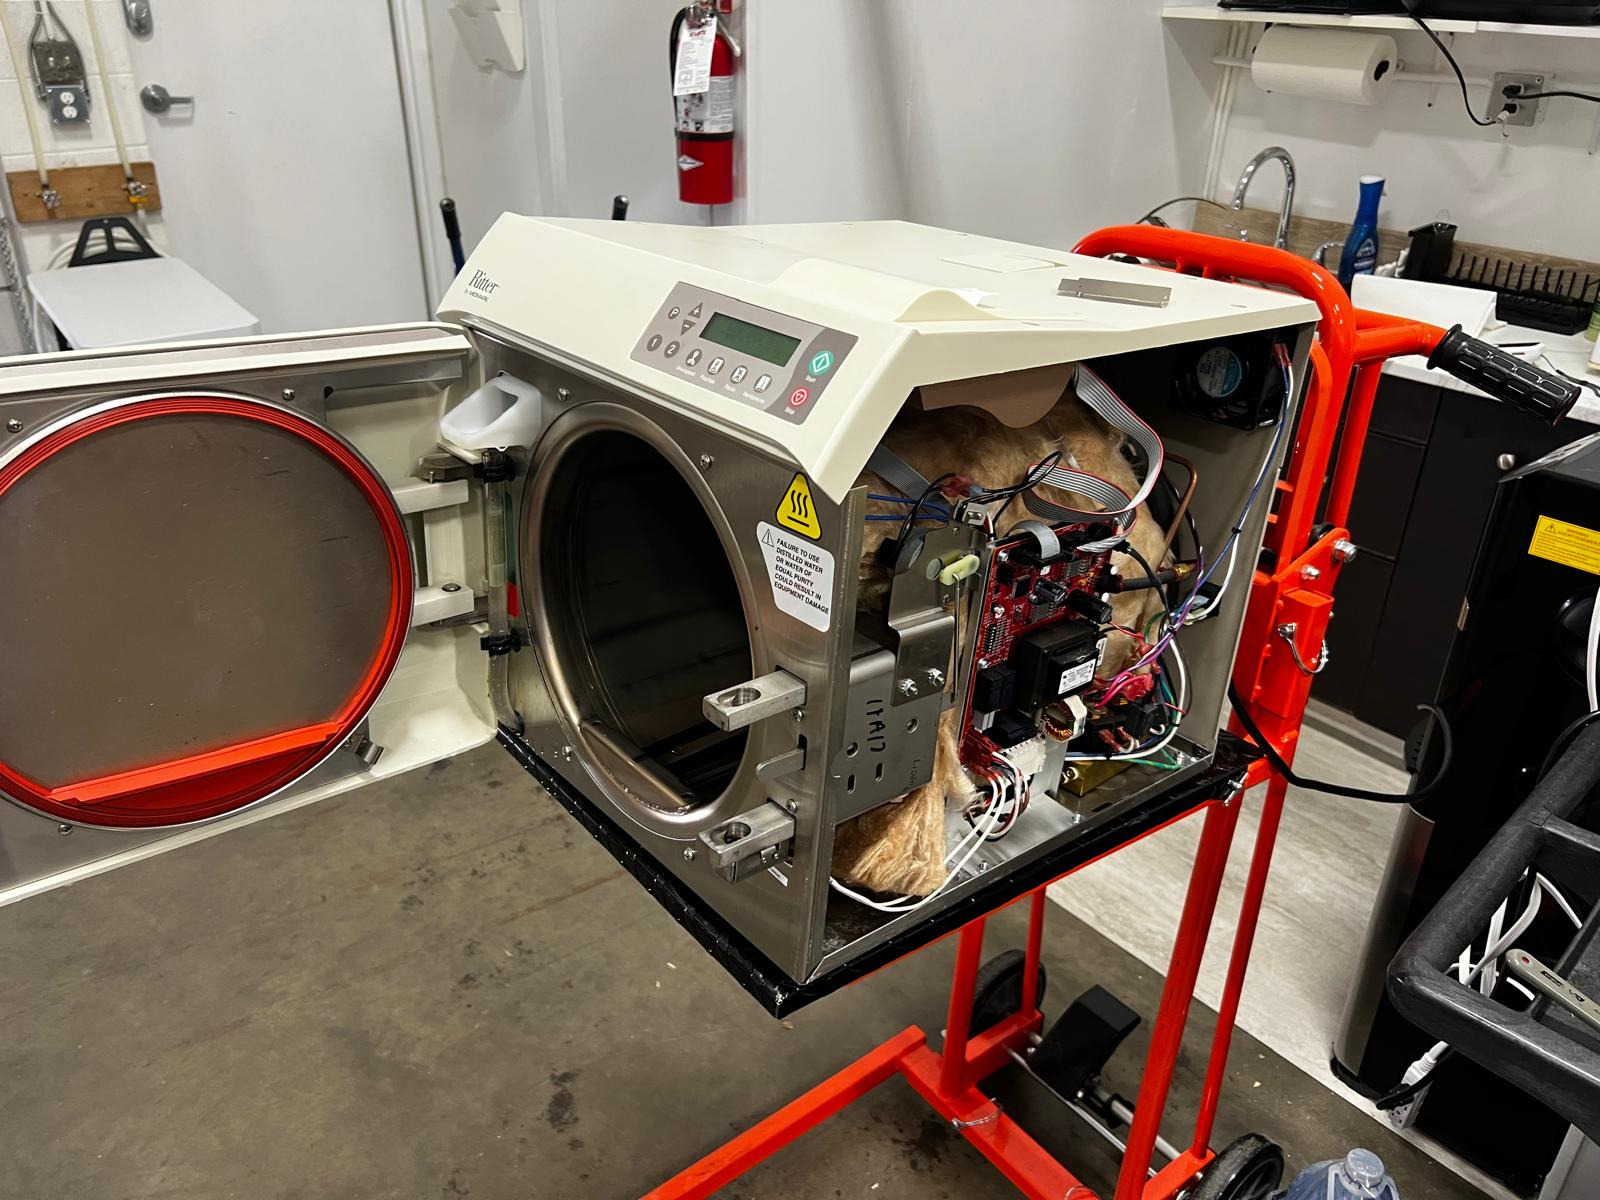
Important sterilizer checks
- Confirm the outlet and power cord connection
- Verify the sterilizer main switch is operating
- Check the correct primary fuse path
- Inspect door latch and door switch conditions
- Consider high limit or overheating related safety conditions
- Test the internal power supply and main board only when qualified
A door related issue does not always create a completely dead display, but it can prevent normal operation or make the sterilizer appear unresponsive when a cycle will not begin. A partially latched or misaligned door should therefore be checked before a board is condemned.
If a fuse has failed, replacing it with an incorrect rating can damage wiring, boards, heating circuits, or other components. The unit model, voltage, series, and service information must be confirmed first.
Clinics with a sterilizer that remains dead after basic external checks can review BioDen’s autoclave repair service in Vancouver for professional electrical diagnosis, testing, and repair.
Dental X ray no power
If the issue is dental X ray no power, keep the first part of the diagnosis simple. When nothing lights up, check the power switch, confirm that the unit power supply cable is connected, and verify that the circuit breaker is on.
If the control unit still does not light up, the control side may be defective, disconnected, or no longer receiving the voltage required to operate.
Some X ray calls are generator or board failures, but many begin as a power feed, breaker, connection, or control issue. Once the external checks are complete, internal imaging equipment diagnosis should be handled by a qualified service technician.
Dental X ray equipment contain high voltage circuits and regulated imaging components. Even when the visible symptom is only a dark control panel, opening the system without the proper service information and electrical precautions is not an appropriate staff level troubleshooting step.
BioDen provides dental X ray repair in Vancouver for control faults, power problems, generator issues, communication failures, and other imaging equipment concerns.
When troubleshooting becomes internal electrical work
There is a point where dental equipment troubleshooting should stop and professional service should begin.
Staff can safely verify outlet power, visible switches, external breakers, plugs, cords, and obvious door or safety conditions. Those checks do not require dismantling the equipment or exposing energized components.
Internal fuse testing, live voltage measurements, bypassing an interlock, opening an autoclave cabinet, or entering an X ray generator or control enclosure belongs to a qualified technician.
Some service procedures expose line voltage when covers are removed. A machine can also retain hazardous electrical energy or contain circuits that become energized in ways that are not obvious from the display or main switch.
Bypassing a safety switch can create an additional hazard and can make the original diagnosis harder. Safety devices should be tested as part of the proper circuit, not defeated simply to make the equipment run.
What information helps before a technician arrives
A clinic can make the service process faster by recording what happened immediately before the equipment lost power.
- Was the equipment working earlier that day?
- Did the failure happen during startup or during operation?
- Was there a smell, unusual sound, spark, or breaker trip?
- Was the equipment recently moved or cleaned?
- Did an electrician or another contractor recently work in the room?
- Are other devices on the same circuit also affected?
- Does any light, fan, display, pump, or control still respond?
These details help separate a building power problem from an equipment problem and help determine whether the failure is on the incoming power side, the safety side, the control voltage side, or the equipment board.
The bottom line
When dental equipment has no power, the smartest move is to think like a technician. Do not start with the most expensive part.
Start with the power coming in, then the switch, then the breaker or fuse, then the safety chain, then the power supply, and finally the control board.
That sequence solves many dead unit calls faster and helps prevent a minor electrical issue from becoming a larger repair bill.
Dental equipment no power FAQ
These answers cover the most common first questions clinics ask when equipment suddenly stops turning on.
Why is my dental equipment not turning on?
The most common causes are loss of incoming power, the main switch being off, a tripped breaker, a blown fuse, an active safety or interlock condition, a failed low voltage supply, or a dead or disconnected control board.
What usually causes dental chair no power?
On dental chairs, the cause is often upstream electrical power, a breaker or fuse, a safety stop condition, a disconnected power wire, a transformer or power supply fault, or a problem on the chair control side.
What does autoclave no power usually mean?
Start with the supply voltage and primary fuse path. From there, a technician may check the main switch, wiring, door and safety conditions, high limit circuit, internal power supply, and main board.
What should I check if my dental X ray has no power?
Start with the unit switch, power supply cable, and circuit breaker. If the control unit remains dark after those checks, the control side may be disconnected, defective, or no longer receiving the required voltage.
Can I replace a blown fuse myself?
A fuse should only be replaced with the exact type and rating specified for the equipment model and voltage. If the fuse is internal or the reason it failed is unknown, the equipment should be inspected by a qualified technician.
When should I stop troubleshooting and call for service?
Stop when the next step requires removing covers, testing live voltage, entering an autoclave or X ray enclosure, or bypassing a safety circuit. Those procedures expose electrical hazards and require proper service documentation.
Still dealing with dental equipment that will not power on?
If your clinic has completed the safe external checks and the equipment remains dead, BioDen can diagnose the power path, safety circuit, power supply, and control side without unnecessary parts swapping.