Dental Unit No Water? Fix It Fast with This Proven Troubleshooting Guide
When Dental Unit No Water Stops Your Day
If you’ve ever had a patient seated, a full schedule ahead , and suddenly faced Dental Unit No Water, you already know how disruptive it can be. Dental Unit No Water is something we see often in busy clinics, especially during a full working day when systems are under constant use.
In real-world service situations across British Columbia, this issue is rarely complicated. Most Dental Unit No Water cases come down to a few repeatable causes: a closed shutoff valve, a clogged filter or screen, a bottle system that is not pressurized, or a coolant setting that was accidentally turned off.
This guide is designed as a practical, non-sales checklist you can actually use in your clinic. Whether it is a lead assistant, office manager, or someone handling basic maintenance, the goal is simple : identify where water is still present, isolate the restriction, and restore flow safely.
If you get stuck at any point or the issue keeps coming back, it may be worth reviewing a proper dental repair in Vancouver approach to avoid repeated downtime.
Once the issue is resolved, it’s just as important to confirm that your dental unit waterline system is still operating properly, including treatment, testing, and routine maintenance. In most cases, this situation is caused by a small interruption in the water delivery path rather than a major failure.
What Dental Unit No Water Usually Means
Dental Unit No Water is not a single failure. It is a symptom that can come from different parts of the system depending on where the flow stops.
No Water Anywhere
No flow from syringe, cup fill, bowl rinse, or handpieces. The entire unit is dry.
Water in Some Areas Only
Syringe or cuspidor works, but no coolant reaches handpieces or scalers.
This distinction is critical. It tells you where to focus your troubleshooting.
Upstream issues usually involve source water, shutoff valves, filters, or regulators.
Downstream issues typically involve coolant controls, anti-retraction valves, relays, or instrument tubing.
Main Causes of Dental Unit No Water
In real clinic situations, most Dental Unit No Water problems fall into six repeatable categories. Once you know which bucket the issue belongs to, troubleshooting becomes much faster and more accurate.
Shutoffs Closed or Supply Interrupted
Many delivery systems depend on a manual water shutoff valve in the floor box or utility area. If that valve is closed, the unit can go completely dry.
Filters or Screens Clogged
Water typically passes through filters before reaching the regulator. When those filters or inlet screens clog with debris, flow can weaken, fade, or stop altogether. Small restrictions like clogged filters or partially blocked lines can completely stop water flow without any warning signs.
Regulator Issues or Incorrect Pressure
If the regulator cannot maintain proper pressure, the result may look like no water at all under normal use. Pressure settings vary by system, so the correct target depends on the unit.
Self Contained Bottle System Not Pressurized
Most systems rely on a self contained water setup where the bottle, internal tubing, and control components work together to maintain steady flow. Bottle systems rely on regulated air pressure to push water through the pickup tube. Low bottle pressure, gasket leaks, or a faulty bottle switch can all stop water flow.
Coolant Control or Anti Retraction Valve Stuck
A unit may still have water at the syringe while handpieces stay dry if the coolant toggle is off or a coolant control valve is stuck in the closed position. In many cases, the issue is related to a valve or solenoid that is not opening or responding properly.
Kinks, Pinches, or Downstream Blockages
Twisted tubing, pinched signal lines, or clogged handpiece ports can interrupt the final part of the water path and create a no water symptom even when the supply is available.
Symptoms That Help You Pinpoint the Failure
Use these symptom patterns to narrow down Dental Unit No Water quickly before moving into deeper troubleshooting. Following a step by step approach helps prevent unnecessary part replacement and avoids creating bigger issues.
Everything Is Dry
No water from the syringe, bowl rinse, cup fill, or handpieces.
Focus upstream. Common causes include a closed shutoff valve, interrupted source supply, a clogged main filter or screen, or a failed regulator.
Syringe Works but Handpieces Are Dry
Some water functions still work, but coolant is not reaching the instruments.
Focus downstream. Suspect a coolant toggle turned off, a stuck coolant control or anti retraction valve, a blocked adjustment valve, or a localized clog in the handpiece line or coupler.
Flow Starts Strong Then Fades
Initial water looks normal, but performance drops as demand continues.
This often points to a restriction or pressure problem, such as a clogged filter, blocked screen, debris in the line, or a regulator that cannot maintain flow under load.
Common Fixes for Dental Unit No Water
Start with simple clinic-level checks and move step by step toward technician-level diagnostics. This sequence helps avoid unnecessary escalation.
Deeper Checks When Basic Steps Do Not Restore Flow
If Dental Unit No Water continues even after confirming shutoffs and bottle status , the next step is to move into deeper system checks and isolate the restriction more precisely.
Check or Replace the Water Filter
If your system uses a water filter, this is one of the first deeper checks worth doing. Clogged or discolored filter can restrict flow enough to create a no water condition.
A typical procedure includes turning off the master toggle, closing the shutoff valve, bleeding remaining air and water pressure through the syringe until flow stops, removing the filter housing with a screwdriver, replacing the filter if needed, and then reopening the system and purging air through the bowl rinse.
Inspect or Replace the Inlet Screen
Some units include an inlet screen inside the manual water shutoff valve. Its job is to stop larger debris from entering the system, but over time it can become restricted and reduce flow.
If your unit has this type of screen, inspect it for buildup and replace it when needed to keep water moving freely through the system.
If the Syringe Has Water but the Handpiece Does Not
When syringe flow is normal but handpiece coolant is still dry, the problem is usually closer to the coolant control path rather than the main supply. In many cases, this is the point where a deeper assessment becomes helpful.
- Coolant water toggle turned off or malfunctioning
- Coolant control valve or anti retraction valve stuck closed
- Twisted or pinched signal tubing preventing valve actuation
- Flow adjustment valves closed too tightly
If the System Uses Relay or Block Logic
Some systems require isolation checks at relay or block level by removing tubing at specific points and checking whether air or water are present when the foot control is activated.
If water is absent at one test point, the fault may be in the relay. If water is present at one point but not farther downstream, the fault may be in a downstream block or valve assembly.
Technician level caution
Relay, block, and internal valve diagnostics usually move beyond clinic level troubleshooting. These checks may involve internal tubing, pressure behavior, and component isolation, so they are best handled by a qualified technician to avoid damage or safety risk. If the issue moves beyond basic chairside checks, professional dental chair repair in Vancouver may be the safest next step.
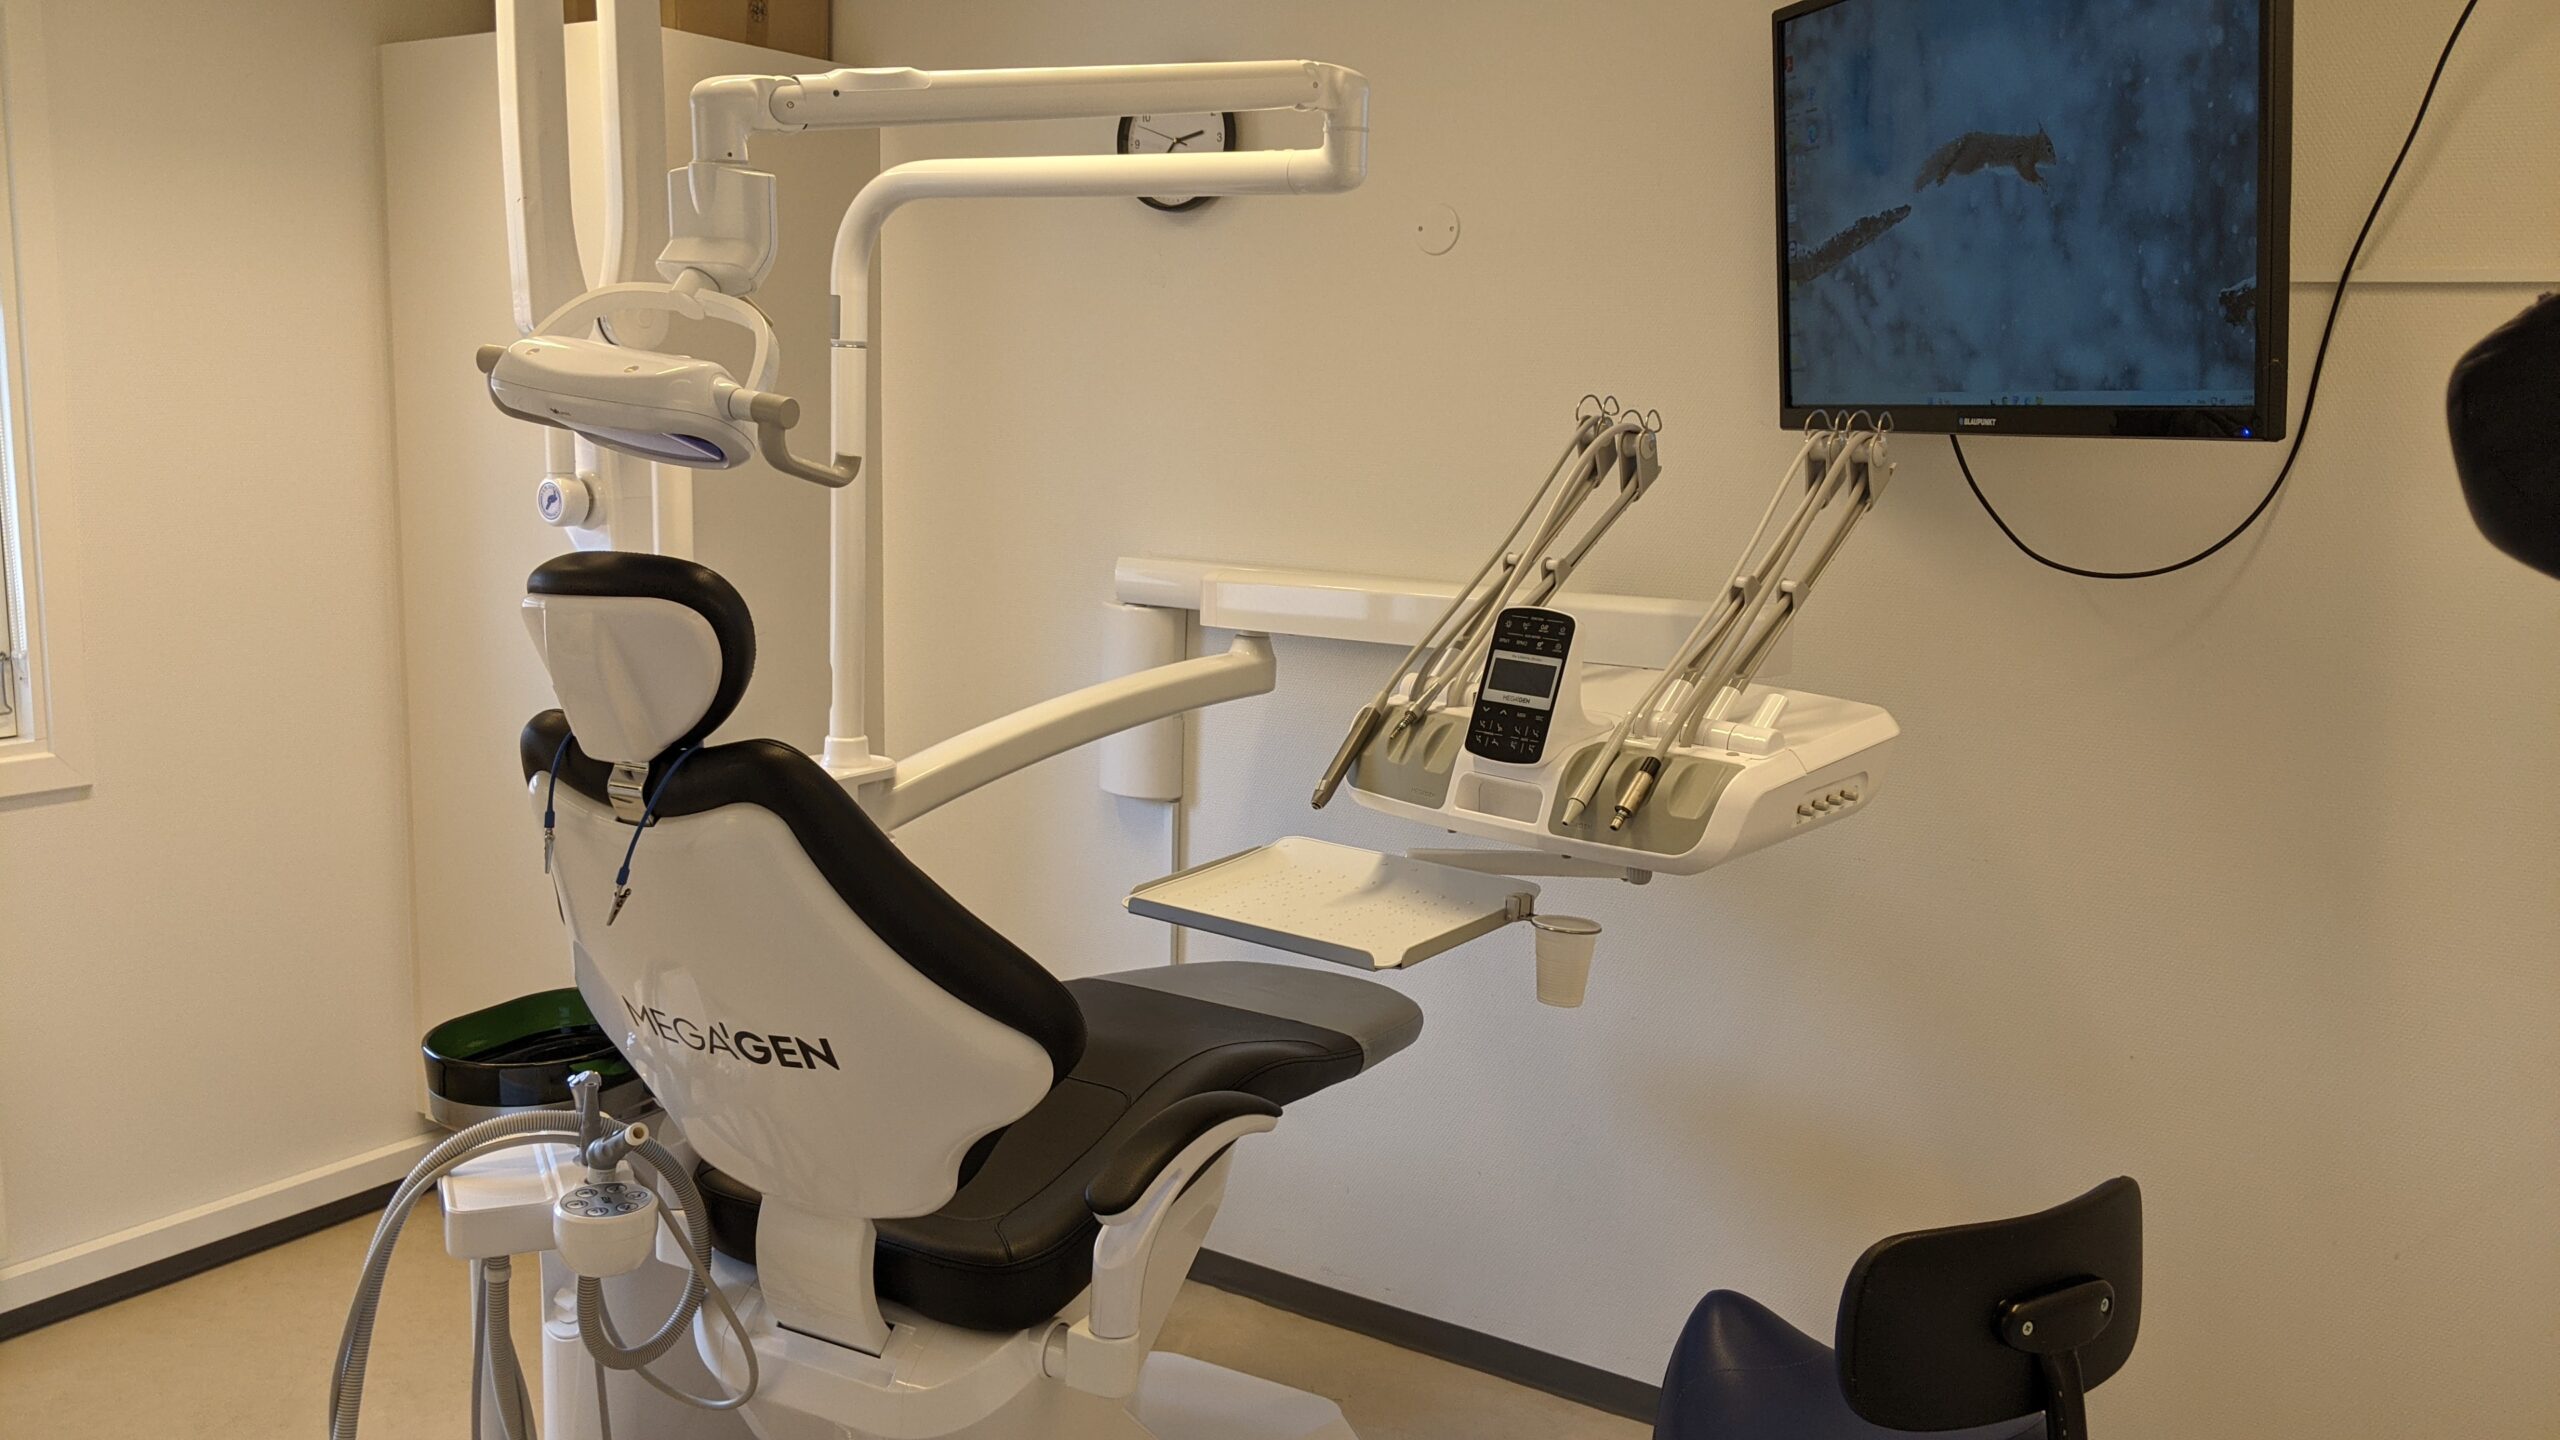
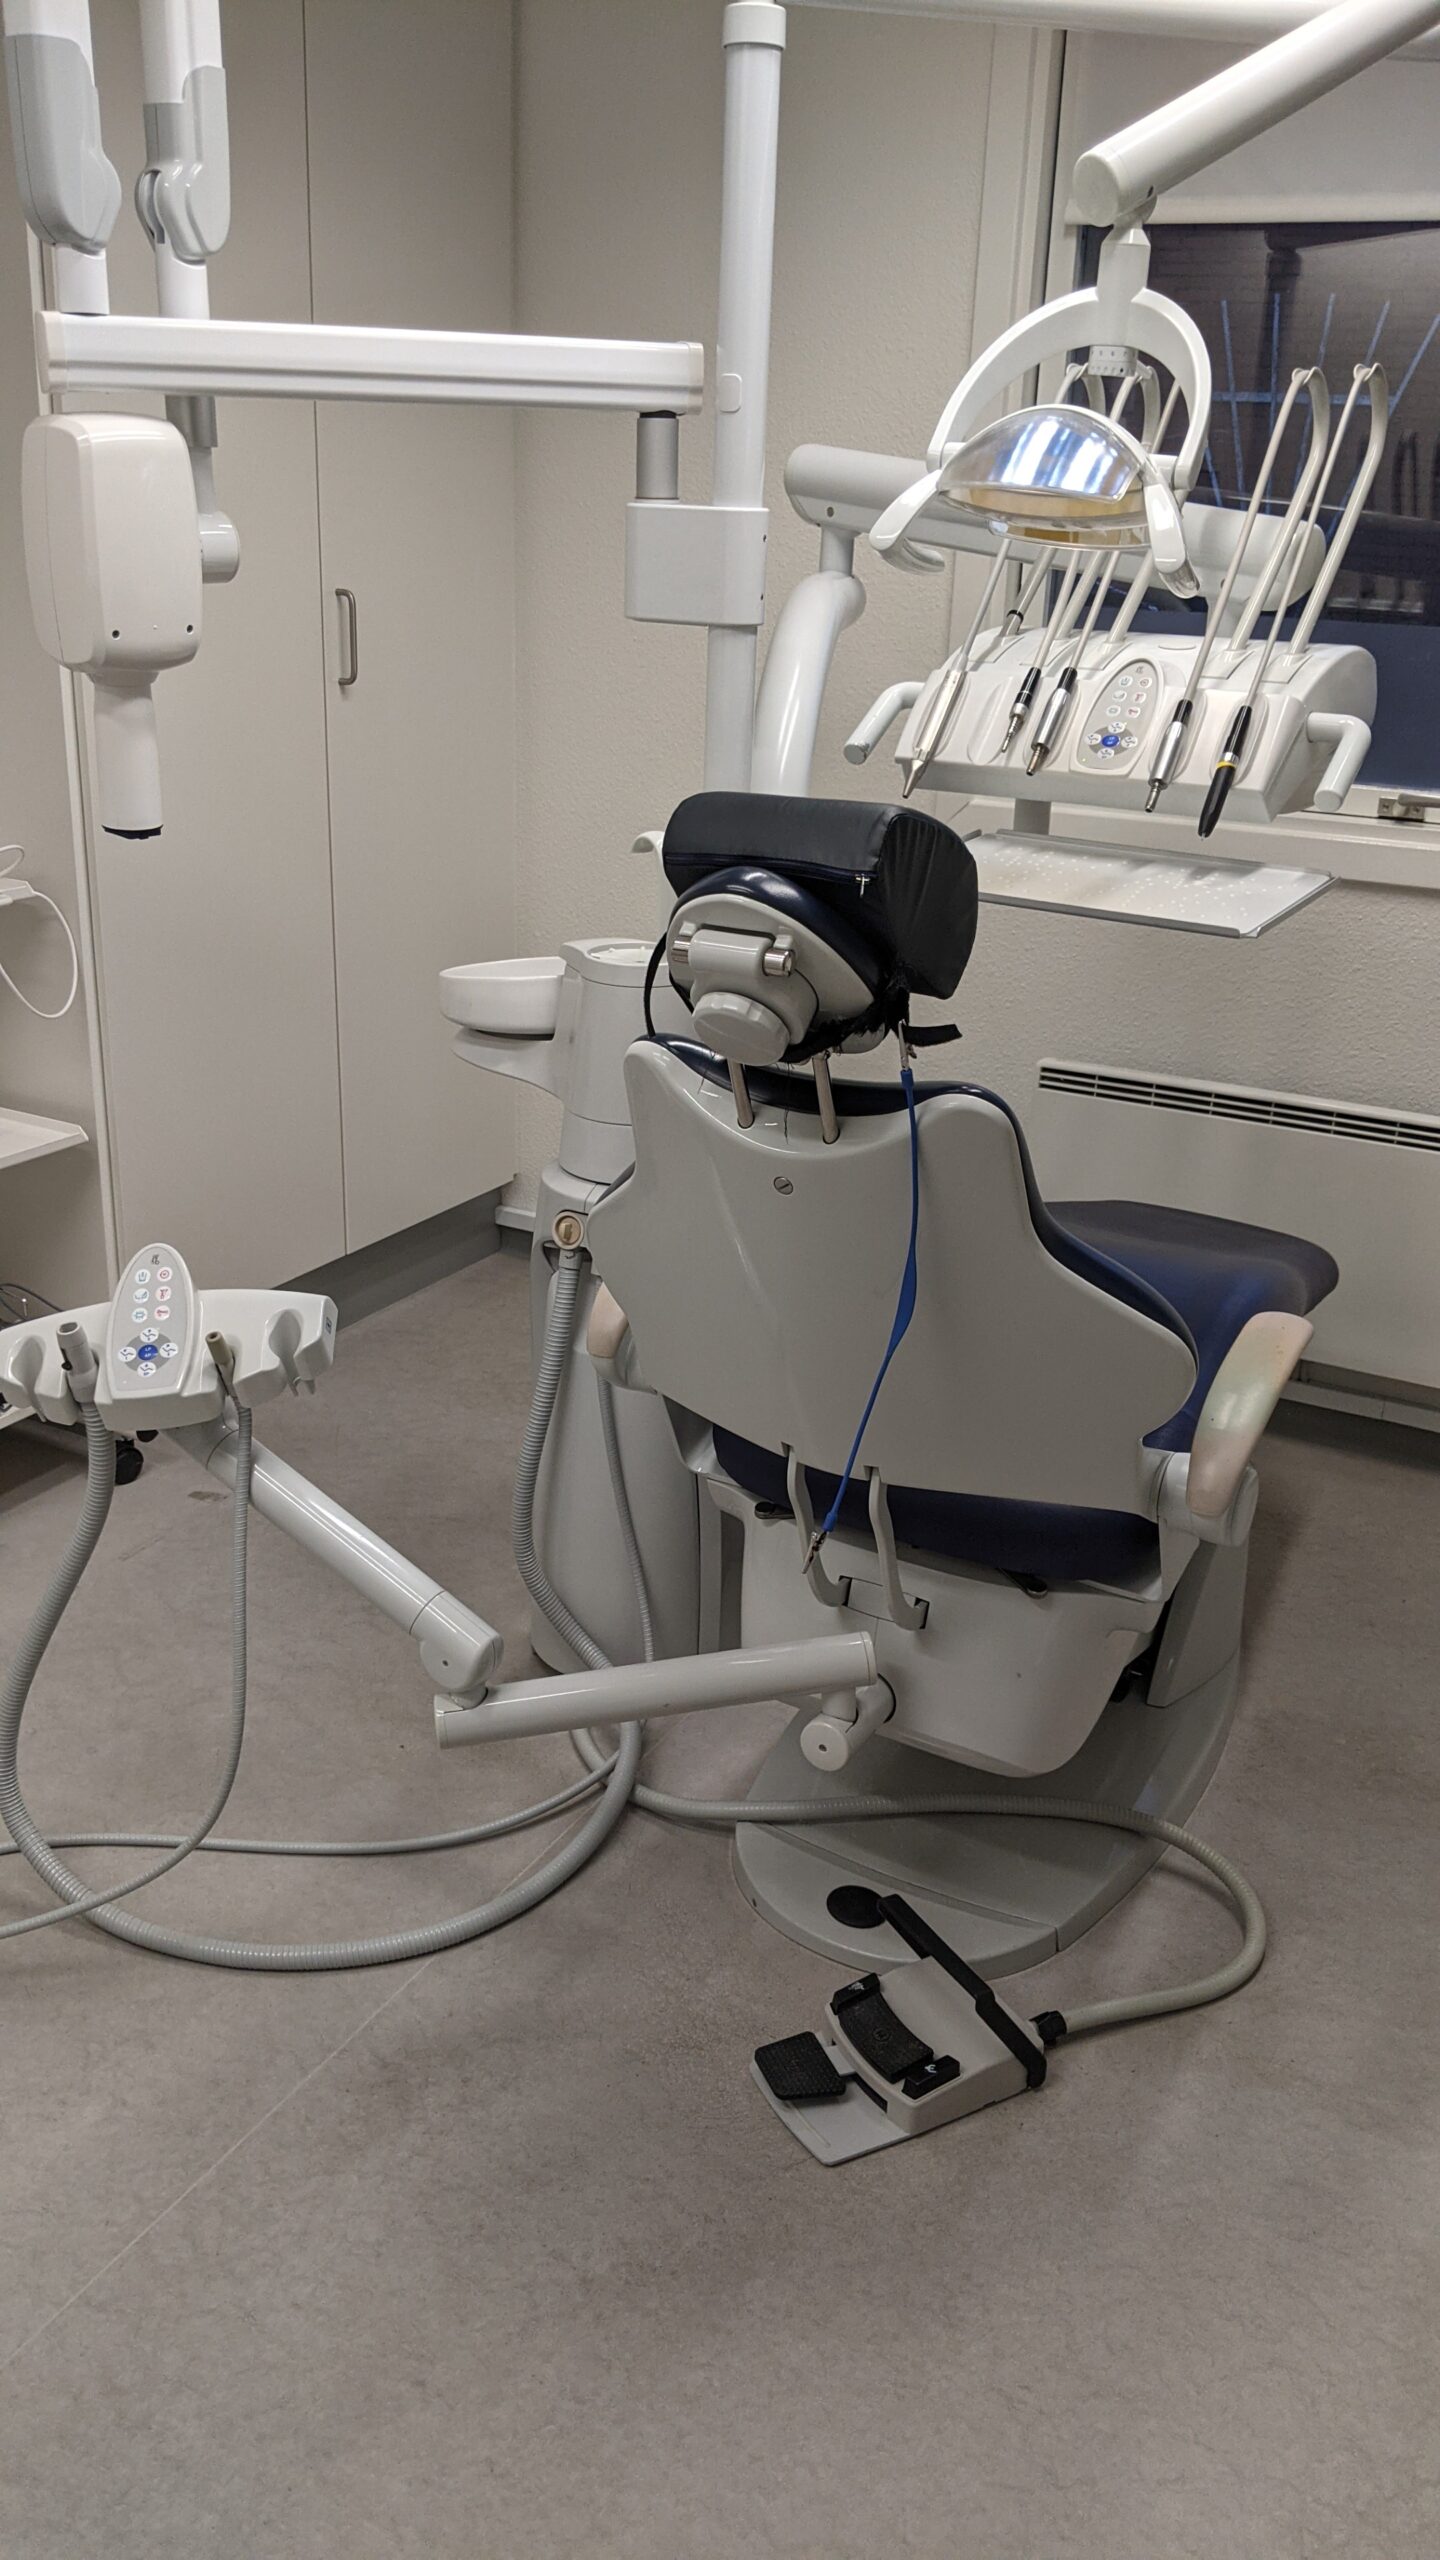
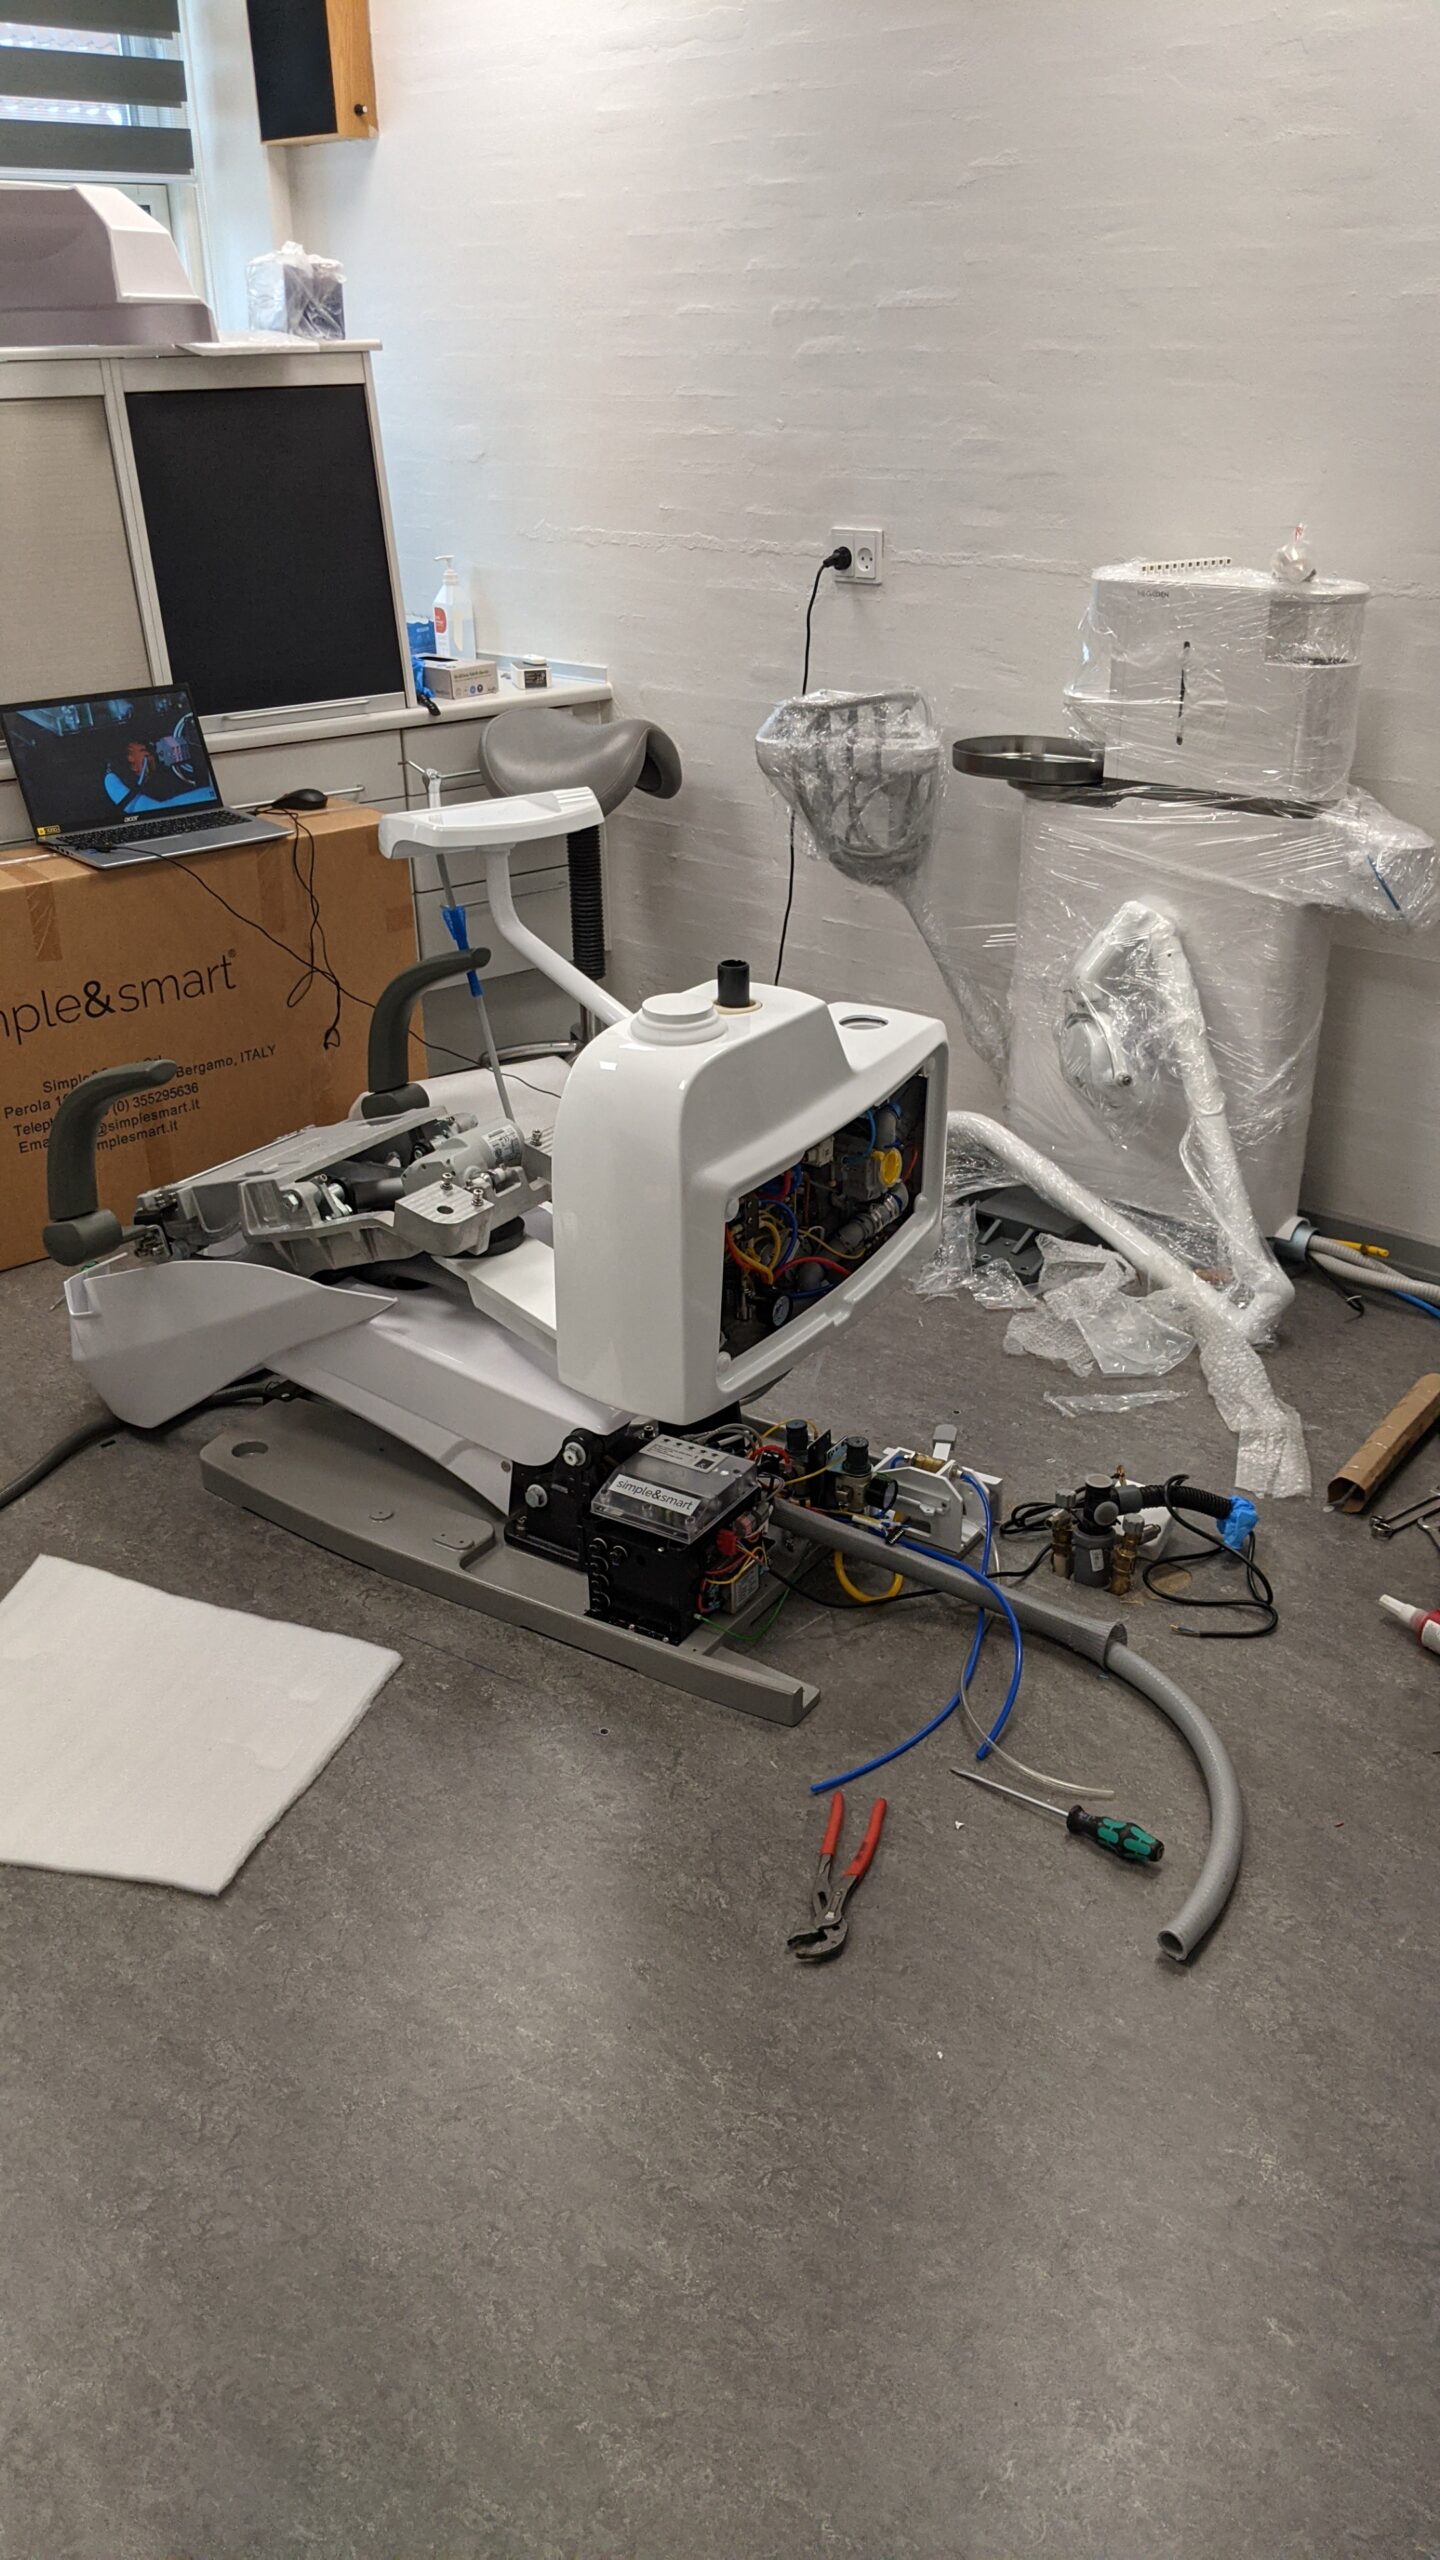
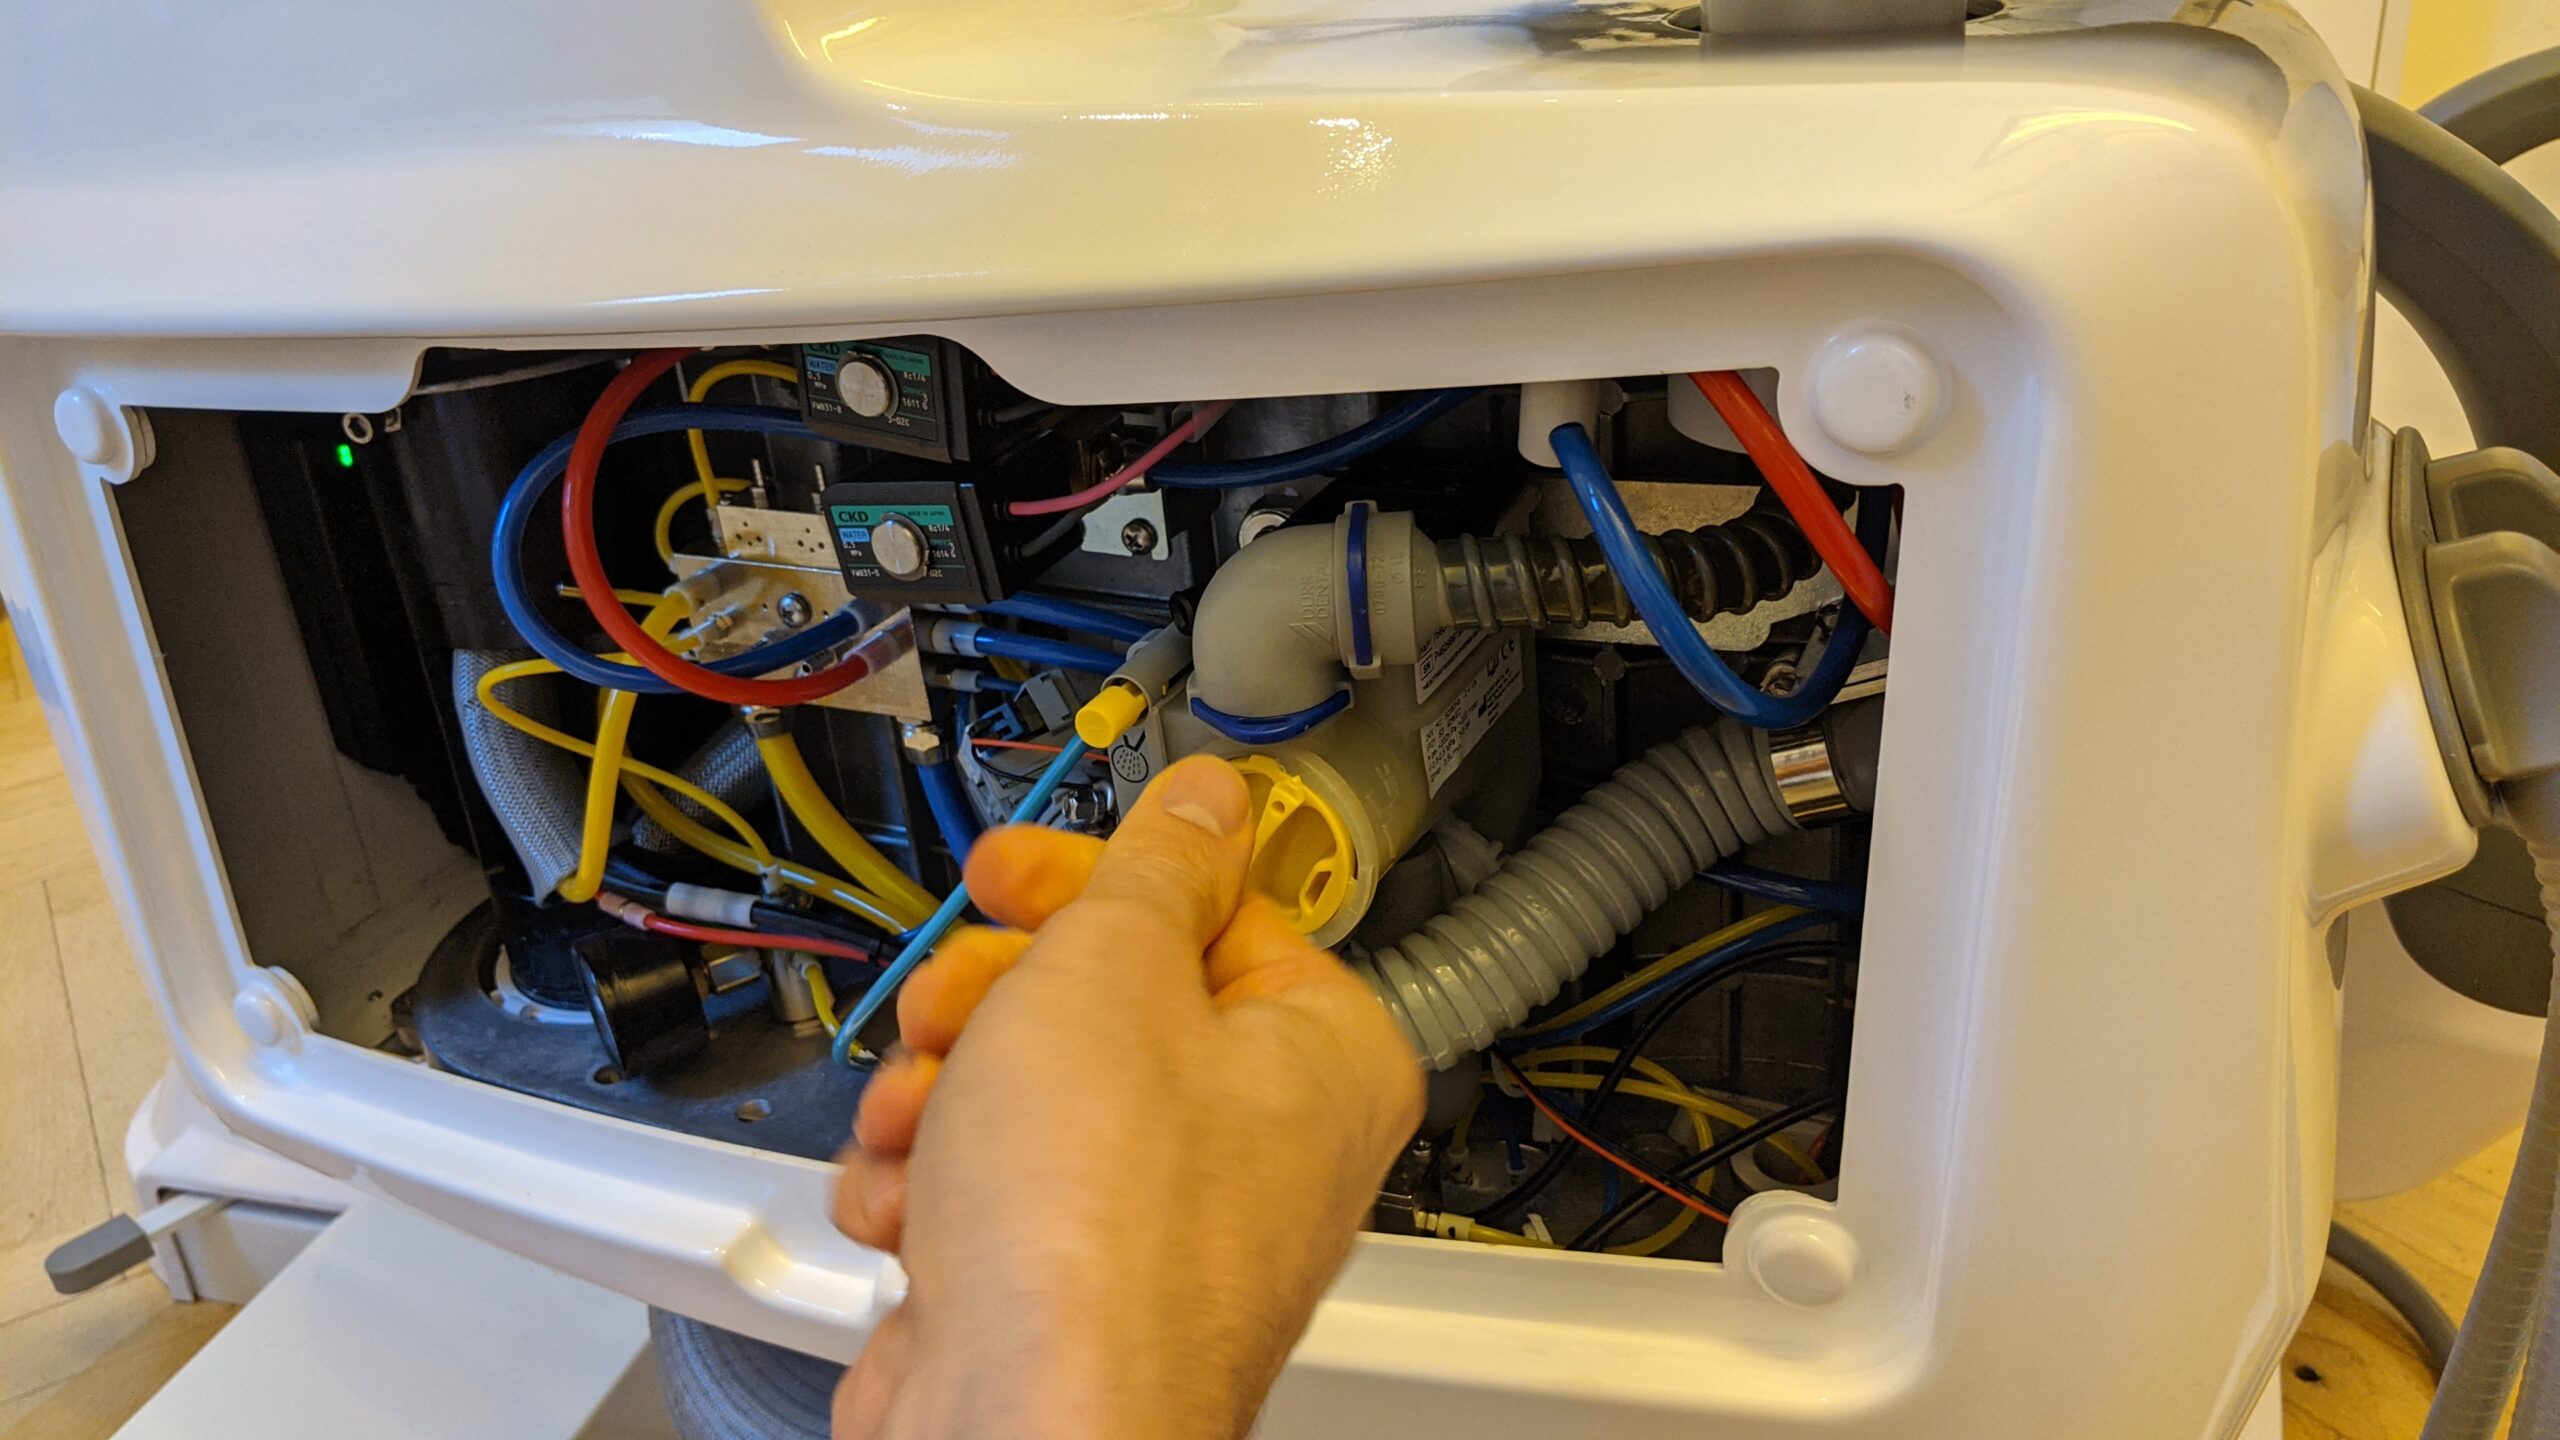
Internal Waterline and Valve Access
These reference photos show the type of internal access area involved when a no water issue moves beyond basic chairside checks.

Dental Unit No Water Flowchart
A structured path to separate main supply issues from coolant and instrument line problems.
Confirm Waterline Treatment and Water Quality
After a Dental Unit No Water event , the unit should not go straight back into use without confirming that the waterline system is still being treated properly and that water quality remains within acceptable standards.
Do Not Treat the Bottle System as the Full Solution
A self contained bottle or independent reservoir helps supply water, but on its own it does not replace a full treatment strategy. The system still needs an approach that maintains drinking water quality standards throughout use.
Verify Cleaning Effectiveness Before Clinical Use
Cleaning or disinfection should be confirmed through testing, not assumption. For surgical procedure, sterile irrigating solutions should be delivered through methods that bypass the standard dental unit water pathway.
Follow the Right Response During a Boil Water Advisory
If a boil water advisory is active, public water should not be used for patient care. Once the advisory ends, follow local flushing guidance. If none is provided, flush the waterlines and faucets before reuse and disinfect the system according to the unit recommendations.
Confirm restored flow, appropriate flushing, ongoing treatment, and water quality verification so the unit is not only working again , but ready for safe patient care.
Maintenance Practices That Prevent Dental Unit No Water
A meaningful percentage of Dental Unit No Water problems can be prevented with a small set of repeatable habits that protect flow, water quality, and system reliability.
Treat and Monitor Dental Unit Water Quality
Prevention starts with a waterline system that meets drinking water standards and is checked routinely. A strong maintenance program also includes having manufacturer instructions available, keeping written protocols in the infection control plan, documenting routine monitoring, and knowing what action to take when a unit exceeds limits.
Flush With Purpose, Not as a Substitute for Treatment
Flushing can help clear patient material from the lines after treatment, but it should not be mistaken for a complete waterline treatment strategy. By it self, flushing does not eliminate biofilm problems when contamination is not otherwise controlled.
Build a Start of Day and End of Day Routine
Daily purge habits help stabilize maintenance and reduce preventable interruptions. Where appropriate, begin the day with a thorough flush and avoid practices that encourage microbial growth, including unnecessary heating of waterlines.
Inspect Filters and Screens Before They Become a Problem
Filters and inlet screens are standard maintenance items. Water often passes through them before reaching regulators, so when they collect debris the restriction can gradually build until flow becomes weak or stops completely. Replacing them proactively is far easier than troubleshooting a sudden failure during patient care.
Keep the Bottle System Stable and Pressurized
If the unit uses a bottle system, remember how it works: regulated air pressure pushes water through the line. Low pressure, a leaking gasket , or bottle related switching issues can quietly create the conditions for a future no water event.
Good maintenance does not just improve water quality. It also reduce unexpected downtime, prevents avoidable restrictions, and makes Dental Unit No Water much less likely to interrupt treatment.
Frequently Asked Questions
These are the most common practical questions that come up when a clinic is dealing with Dental Unit No Water and trying to decide what to check next.
What’s the first thing to check when Dental Unit No Water happens?
Why do I get Dental Unit No Water only on handpieces, but the syringe still works?
Can a clogged filter really cause Dental Unit No Water?
If I have a bottle system, what causes Dental Unit No Water most often?
After fixing Dental Unit No Water, do I need to do anything for waterline safety?
Does flushing alone solve water quality issues after Dental Unit No Water?
Stuck with Dental Unit No Water?
Use this checklist as you troubleshoot and document each step: what had water, what didnt, what changed. If the issue moves beyond basic checks or involves pressure, electrical, or internal components, it is safer to stop and bring in a qualified technician .
Once flow is restored, don’t forget to confirm your DUWL treatment and testing plan is still within safe operating standards.